
Mounting a TV on the wall can be a great way to save space and improve the overall aesthetics of your room. However, it is important to ensure proper installation to avoid any potential accidents or damage. In this article, we will discuss the step-by-step process of Santa Fe TV mount installation, along with safety measures and troubleshooting tips.
Understanding the Basics of TV Mount Installation
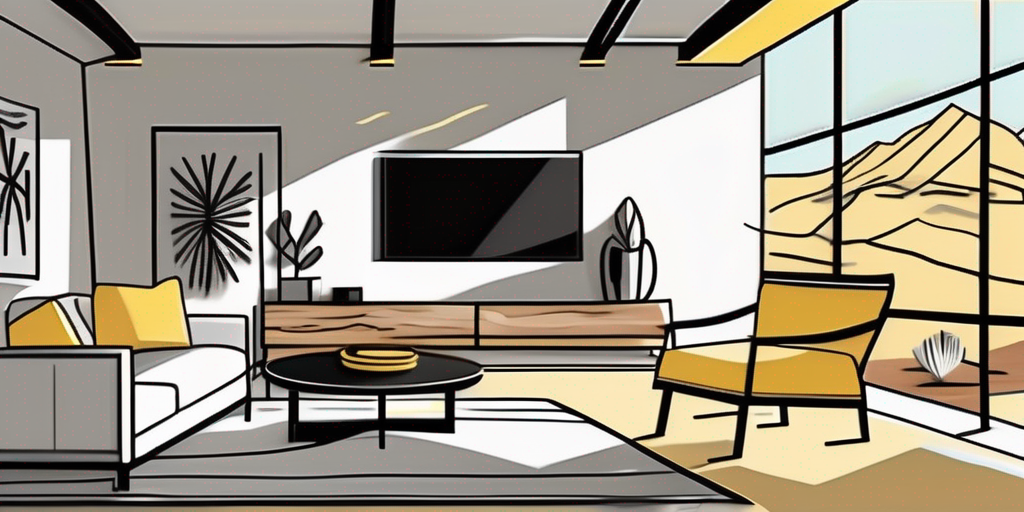
Installing a TV mount can be a great way to optimize your viewing experience and create a sleek, clutter-free look in your living space. Before you embark on this project, it’s essential to understand the different types of TV mounts available and gather the necessary tools for a smooth installation process.
Types of TV Mounts
When it comes to TV mounts, there are several options to choose from, each offering its own set of advantages and considerations. Let’s take a closer look at the most common types:
- Fixed Mounts: These mounts are designed to keep your TV securely in place without any movement. They are ideal for situations where you want a clean, flush look on the wall.
- Tilting Mounts: If you need the flexibility to adjust the viewing angle of your TV, a tilting mount is a great choice. It allows you to tilt the TV up or down to achieve the desired viewing position.
- Full-Motion Mounts: For the ultimate flexibility, full-motion mounts are the way to go. These mounts allow you to swivel, tilt, and extend your TV, giving you the freedom to find the perfect viewing angle from anywhere in the room.
- Ceiling Mounts: If wall mounting is not an option or you prefer a unique setup, ceiling mounts offer a great alternative. They allow you to suspend your TV from the ceiling, creating a stylish and space-saving solution.
Now that you have a better understanding of the different types of TV mounts, you can choose the one that best fits your needs and preferences.
Tools Required for Installation
Before you begin the installation process, it’s important to gather the necessary tools to ensure a successful and efficient setup. Here are the tools you will typically need:
- Stud Finder: A stud finder is essential for locating the studs in your wall, which will provide the necessary support for your TV mount.
- Level: To ensure that your TV mount is straight and properly aligned, a level is a must-have tool.
- Drill: Depending on the type of wall you have, you may need a drill to create pilot holes for the mounting screws.
- Screwdriver: A screwdriver will be needed to tighten the screws and secure the TV mount in place.
- Measuring Tape: Accurate measurements are crucial for positioning your TV mount correctly. A measuring tape will help you determine the ideal height and distance from the wall.
- Pencil: Marking the spots where you will be drilling or attaching the TV mount is essential for precision and accuracy.
By having these tools at hand, you’ll be well-prepared to tackle the TV mount installation process with confidence.
Preparing for the Installation Process
Choosing the Right Location
Identifying the optimal location for your TV mount is crucial. Take into consideration factors such as viewing angle, sunlight exposure, and accessibility to power outlets and cables. It’s generally recommended to mount the TV at eye level to prevent strain on your neck while watching.
When selecting the right location for your TV mount, consider the layout of your room. Think about where you and your family usually sit to watch TV and ensure that the mount is positioned in a way that provides a comfortable viewing experience for everyone. You may also want to take into account the layout of your furniture and the overall aesthetics of the room.
In addition to the viewing angle, it’s important to consider the amount of sunlight that enters the room. Direct sunlight can cause glare on the TV screen, making it difficult to see the content clearly. Choose a location that minimizes the amount of sunlight hitting the screen, or consider using curtains or blinds to control the amount of light entering the room.
Another factor to consider is the accessibility to power outlets and cables. Make sure that the location you choose is close to a power source to avoid having unsightly cables running across the room. If possible, plan ahead and install power outlets behind the TV mount to keep the cables hidden and maintain a clean and organized look.
Studying the Wall Structure
Prior to drilling any holes, it’s essential to locate the studs or supports within the wall. This will ensure that your TV mount is securely attached. Use a stud finder to locate the studs, and mark them with a pencil for reference. Avoid mounting the TV directly onto drywall as it may not provide sufficient support.
When studying the wall structure, it’s important to understand the different types of walls and their capabilities. If you have a drywall, it’s generally recommended to mount the TV on a stud for added stability. However, if you have a concrete or brick wall, you may need to use specialized anchors or bolts to secure the TV mount.
Using a stud finder is a simple and effective way to locate the studs in your wall. Start by turning on the stud finder and placing it against the wall. Slowly move it horizontally until it detects a stud. Once a stud is detected, mark its location with a pencil. Repeat this process to locate multiple studs if necessary.
Before drilling any holes, double-check the marked locations to ensure that they align with your desired TV mount position. It’s important to be precise and accurate to avoid any mistakes that could compromise the stability of the TV mount.
Step-by-Step Guide to TV Mount Installation
Attaching the Mounting Plate
Begin by attaching the mounting plate to the back of your TV. Most TV mounts include a universal mounting plate with various hole patterns to accommodate different TV models. Align the plate with the designated holes on your TV and secure it using the provided screws. Ensure that it is tightly fastened and level.
Securing the TV Bracket
Once the mounting plate is attached to your TV, it’s time to secure the TV bracket onto the wall. Position the bracket against the wall, aligning it with the previously marked studs. Use a level to ensure that it is straight, and mark the holes for drilling. Proceed to drill pilot holes and attach the bracket using the appropriate screws.
Safety Measures During Installation
Ensuring Proper Weight Distribution
TVs can be heavy, especially larger models, so it’s crucial to distribute the weight evenly to prevent strain on the mount and the wall. Double-check that the mounting plate and bracket are securely attached to the TV and wall respectively. Additionally, ensure that all screws are tightened properly to avoid any instabilities.
Avoiding Electrical Hazards
When handling the TV and its cables during installation, be mindful of electrical hazards. Ensure that the TV is unplugged and avoid working near exposed electrical wiring. If you’re unsure about any electrical aspects, it’s best to consult a professional electrician to ensure your safety.
Troubleshooting Common Installation Issues
Dealing with Uneven Mounting
If you notice that your TV is not level after installation, you can make adjustments by loosening the screws on the bracket and readjusting its position. Double-check the levelness and retighten the screws once you achieve the desired alignment.
Addressing Loose Fittings
In some cases, you might experience loose fittings or screws. If this occurs, carefully tighten them using the appropriate tools. Avoid over-tightening, as it may damage the mount or the TV. Regularly inspect the fittings to ensure they remain secure over time.
By following these guidelines and precautions, you will be able to successfully install your TV mount in Santa Fe. Enjoy the best viewing experience while maximizing your space, and ensure that the installation is carried out securely and with attention to detail.